Prerequisites
-
You have access to a running OpenShift/Minishift instance
-
You have oc tools installed locally and can connect to your OpenShift instance
Login as developer
oc login -u developer

oc new-project agola

oc new-app agola
At this point login to the OpenShift console as developer and enter into the “agola” project
I modified the file
https://github.com/agola-io/agola/blob/master/examples/kubernetes/simple/agola.yml
to create an openshift compliant deployment config file.
Download from here:
https://raw.githubusercontent.com/rafpor75/agola-config/master/agola.yml
Step by Step add portion of deployment config into your project
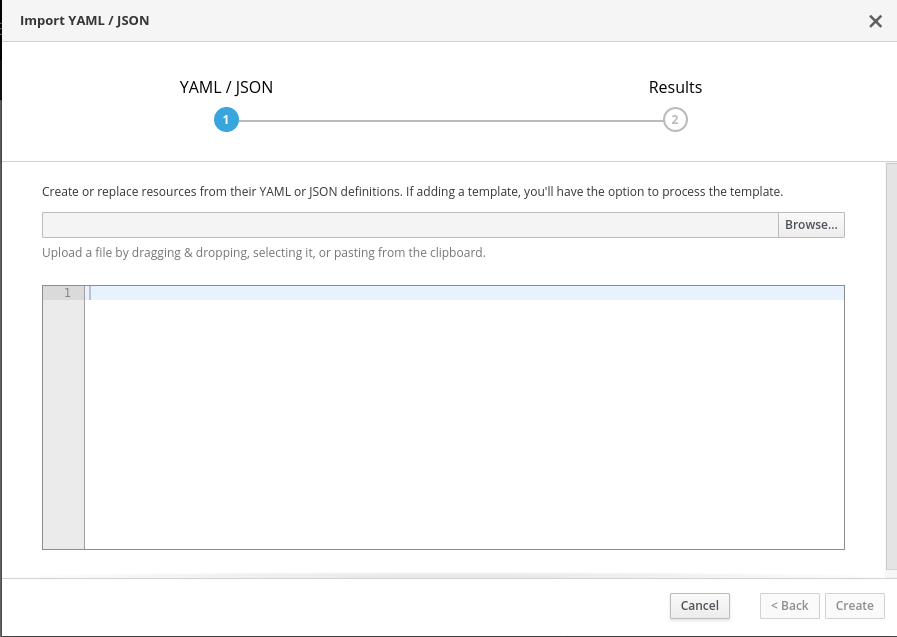
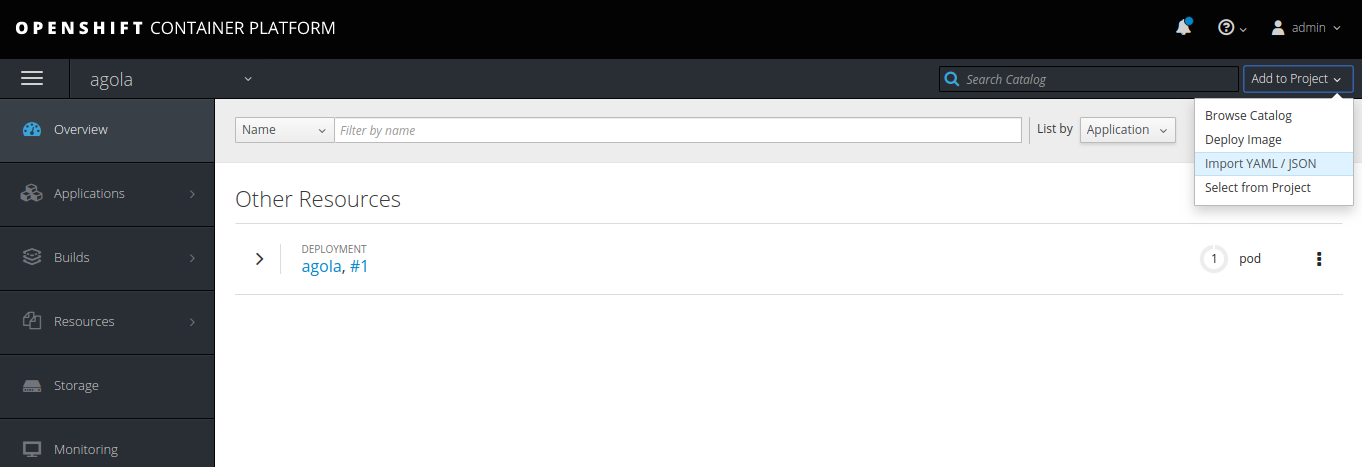
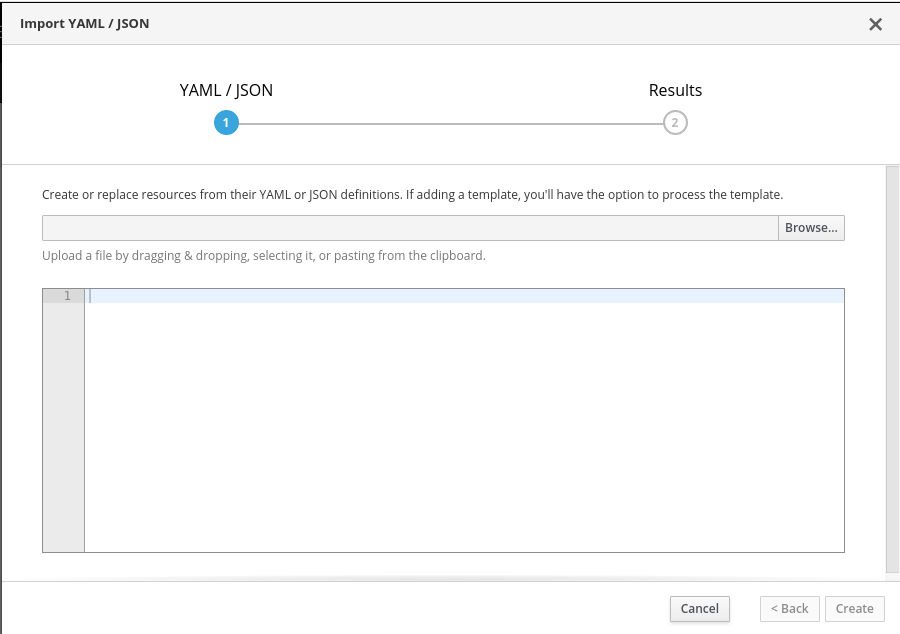
Select from “Add to Project” menu, Import YAML/JSON

Paste into dialog box the following yaml code to create a PersistentVolumeClaim and then click “Create” button
apiVersion: "v1"
kind: "PersistentVolumeClaim"
metadata:
  name: "agola-vol"
spec:
  accessModes:
    - "ReadWriteOnce"
  resources:
    requests:
      storage: "1Gi"
As for the above code copy and paste the following:
first
apiVersion: v1
kind: Service
metadata:
  name: agola
spec:
  ports:
    - port: 8000
      name: api
      nodePort: 30002
  selector:
    app: agola
  type: NodePort
and then
apiVersion: v1
kind: Service
metadata:
  name: agola-internal
spec:
  ports:
    - port: 8000
      name: api
    - port: 4000
      name: runservice
    - port: 4002
      name: configstore
    - port: 4003
      name: gitserver
  selector:
    app: agola
  clusterIP: None
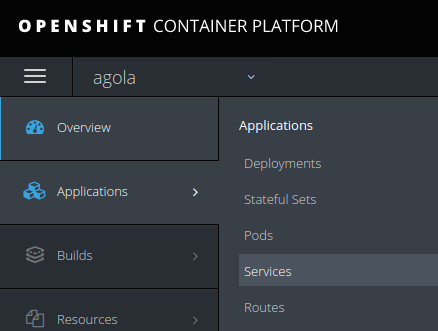
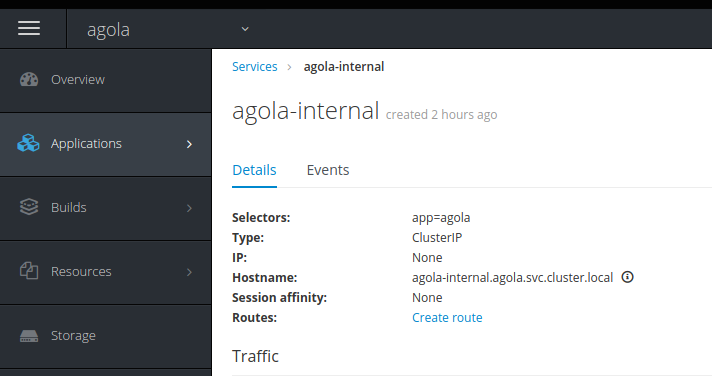
Go to Applications → Services panel

Click on agola-internal link, copy Hostname value agola-internal.agola.svc.cluster.local
and use it to replace the urls where present agola-internal into the deployment config file.
Add RBAC Authorization
Logout, and login again as user admin with password admin, enter to the agola project
and select Import Yaml /Json as into below figure
Into the following dialog window past the content of the file one section at a time, pay attention to replace all occurrences of “namespace: default” with “namespace: agola”
https://github.com/agola-io/agola/blob/master/examples/kubernetes/common/rbac.yml
Logout, and login as developer.
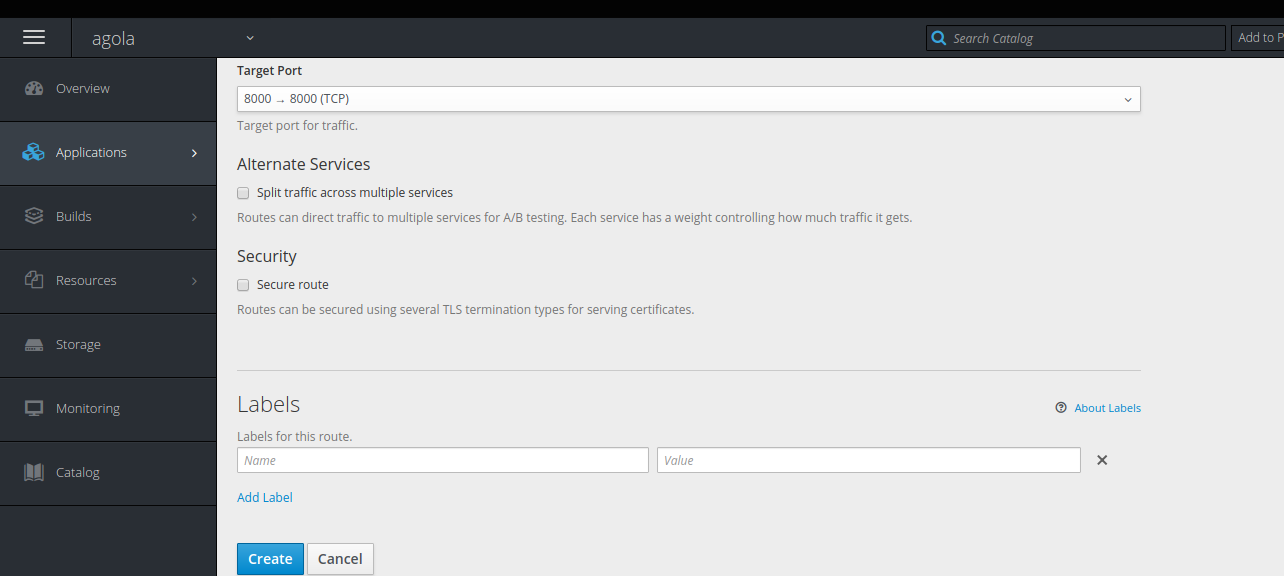
Select agola project, enter Application→Services section, select agola service
In the Service agola section select “create route” as in the image below.

In the following page select Create without editing anything
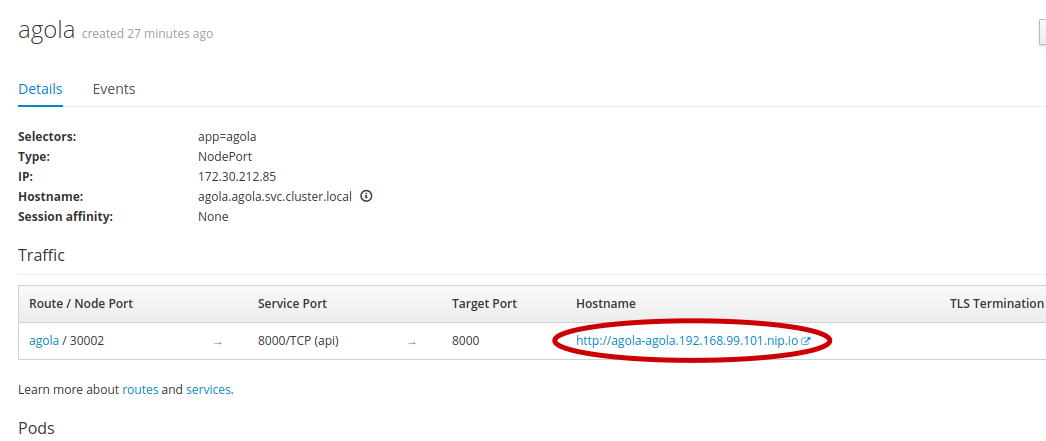
At this point you have the url of your Agola as in the below figure, but we need to recreate the pod to apply all changes made.
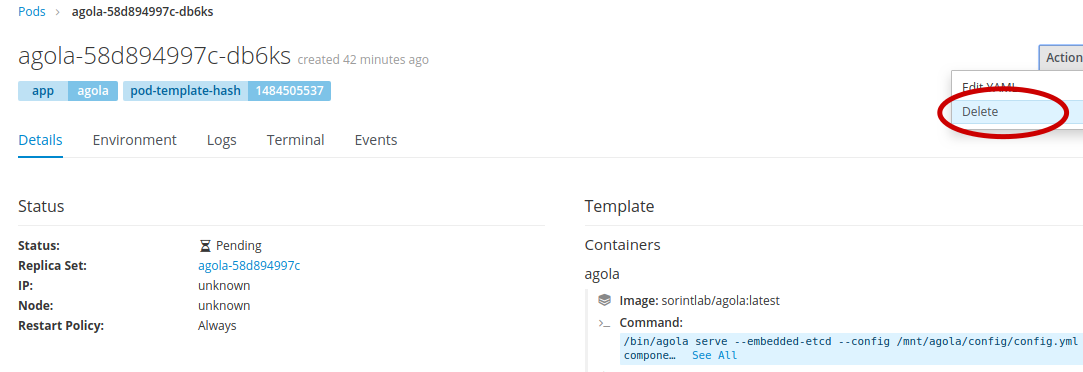
Go to Application - Pods section,

select the pending pod, by the Actions button click Delete and wait until the system recreate the pod.
At the end by a link like this http://agola-agola.192.168.99.101.nip.io/
you can load Agola and follow the instruction in the official site to use it: https://agola.io/